In January we made a huge move from Illinois to Portland, OR & before that move we made the decision to make it as light as possible. We sold a lot of belongings, donated things we could live without & left our keepsakes at my in laws. Our move was light! We fit our whole entire lives in an 5x8 trailer & headed west. The first apartment was TINY (400 sq ft) so it was great all of our things fit perfectly! Fast forward 5 months later & we are now in a place that is almost three times the size! Now we have space to fill & I have been thinking of projects ever since!
The first on my list was a coffee table & I had been eyeing this DIY
one on pinterest. So it was settled we order the legs, bought our supplies & I put Corey to work!
Step 1: Gather supplies
Step 2: Sand the wood you have chosen for you coffee table top
Step 3: Apply a conditioner/pre stain to the wood before the stain color of your choice, we chose a dark walnut.
Step 4: Apply two- three more coats a stain for the desired color. Let dry for 24hrs and apply a sealant.
 |
After three coats of stain
|
Step 5: Attach the legs with screws and a power drill
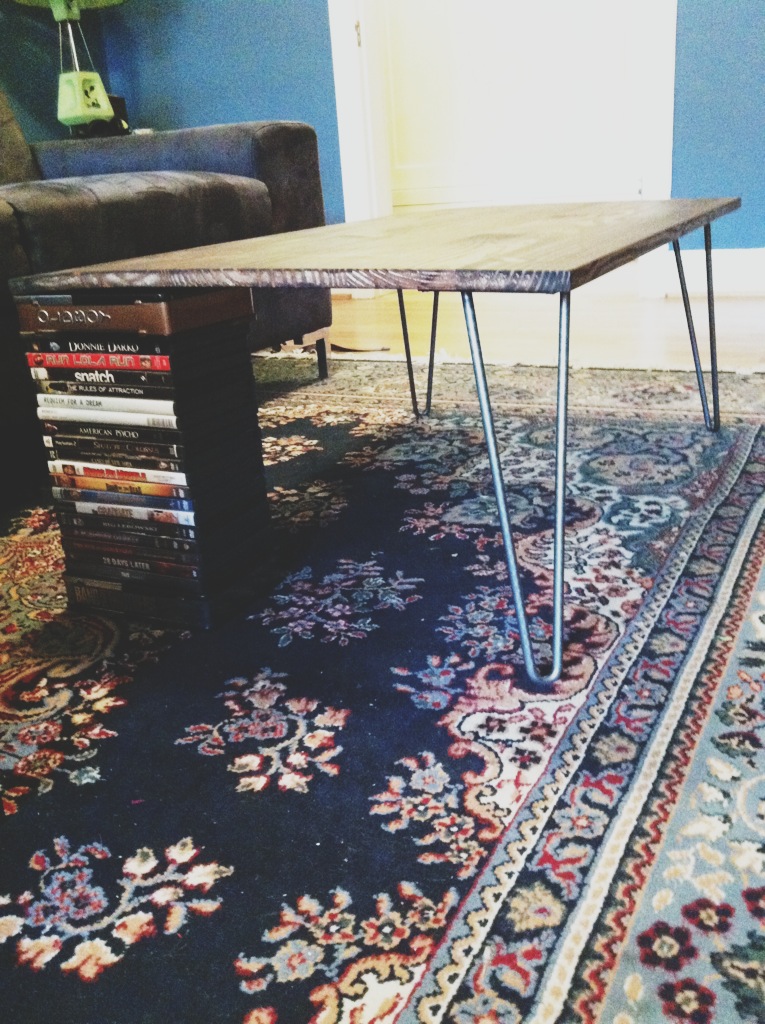
NOTE: when ordering make sure everything is there. I made the mistake of not checking the box when they arrived and when it was time to put the legs on we only had 3 (oops!) Thankfully Ian from
hairpinlegs was more than wonderful he sent out the other leg we had ordered, it arrived just a few days later. Our coffee table was held up by a stack a DVD's while we waited.
I am SO pleased with how it turned out the legs are perfect & my husband did such a great job I'd like to say I supervised but while writing I had to keep asking him questions about the table so apparently I didn't supervise too well. I am one lucky lady to have such a handy man!


Hmm... I might just have to use this DIY for when I move into my apartment. Great tutorial & simple too!
ReplyDeleteoh, thank you!
Delete