Saturday, June 30, 2012

Before & After: nightstand tables

A few weeks ago while wondering through an estate sale I found these two little tables, we were in need of bed side tables now that we are in a bigger space, I figured if these were cleaned up or painted they'd do the trick.

After some thought we realized painting them would do no good because parts of the vinyl were cracking and peeling off.  We started peeling some parts off we realized most of the vinyl was NOT coming off. I was determined to keep these tables so I sat for several hours with a blowdryer heating up the vinyl and removing it with a putty knife. Once the vinyl was removed the metal underneath was in great shape. We had some wood cut for the tops, stained them & now we have some lovely little
repurposed night stands all under $20!


Before


After


Friday, June 29, 2012

Beet & Goat Cheese Pizza


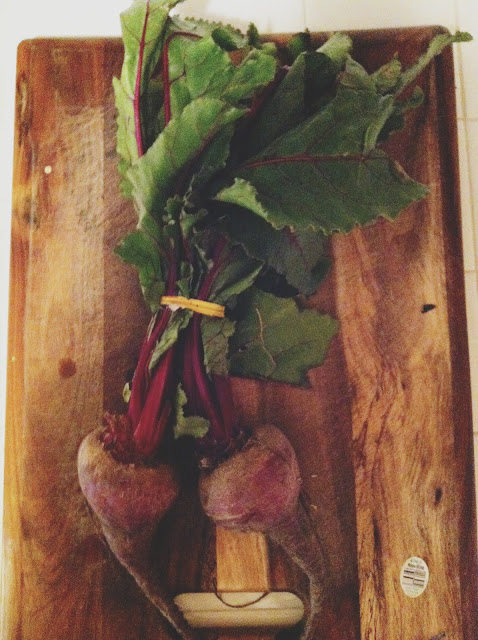
When I was little anytime we went to a restaurant with a salad bar, I had to get beets. Over the years I have forgoten about my love for beets, mainly because now days most salads bars gross me out. SO tonight we reconnected! 

Tonight I made a roasted beet and goat cheese pizza.

Ingredients:
  • pizza crust (we use jiffy's super simple just add warm water to make your dough)
  • mozzarella cheese
  • extra virgin olive oil
  • balsamic vinegar
  • beets
  • goat cheese 


Step one: peel and cut your beets and place on a cookie sheet drizzle with olive oil and sea salt bake at 425 degrees for 15-20 minutes.


Step two: Once your beets are roasted get your pizza dough ready, ours requires you to bake it a few minutes before adding any toppings, once ready drizzle with olive oil and balsamic vinegar add mozzarella cheese, beets and goat cheese. 


Step three: Bake for 20 minutes or until crust is a golden brown!

Roasted Beet and Goat Cheese Pizza


Step four: Enjoy, it was delicious. I drizzled mine with more balsamic, because you can never have too much! 


Monday, June 25, 2012

DIY Coffee Table

In January we made a huge move from Illinois to Portland, OR & before that move we made the decision to make it as light as possible. We sold a lot of belongings, donated things we could live without & left our keepsakes at my in laws. Our move was light! We fit our whole entire lives in an 5x8 trailer & headed west. The first apartment was TINY (400 sq ft)  so it was great all of our things fit perfectly! Fast forward 5 months later & we are now in a place that is almost three times the size! Now we have space to fill & I have been thinking of projects ever since!

The first on my list was a coffee table & I had been eyeing this DIY one on pinterest. So it was settled we order the legs, bought our supplies  & I put Corey to work!

Step 1: Gather supplies 

Step 2: Sand the wood you have chosen for you coffee table top

Step 3: Apply a conditioner/pre stain to the wood before the stain color of your choice, we chose a dark walnut.


Step 4: Apply two- three more coats a stain for the desired color. Let dry for 24hrs and apply a sealant. 

After three coats of stain

Step 5: Attach the legs with screws and a power drill 

NOTE: when ordering make sure everything is there. I made the mistake of not checking the box when they arrived and when it was time to put the legs on we only had 3 (oops!) Thankfully Ian from hairpinlegs was more than wonderful he sent out the other leg we had ordered, it arrived just a few days later.  Our coffee table was held up by a stack a DVD's while we waited.

I am SO pleased with how it turned out the legs are perfect & my husband did such a great job I'd like to say I supervised but while writing I had to keep asking him questions about the table so apparently I didn't supervise too well.  I am one lucky lady to have such a handy man!


Sunday, June 24, 2012

Berry Picking!


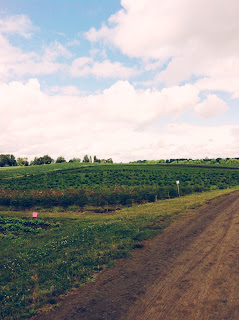
Over the weekend Corey & I made our first trip to  Sauvie Island Farms. Let me just tell you a little about this magical farm. They grow just about everything you could want to eat and you get to pick it yourself! It's perfect for us, the people who dream about having a yard to grow our own produce & fruit yet can't quite let go of city living. Coming from the midwest and only seeing fields for miles and miles, I have a hard time believing that such a place is so close (about a 20 minute drive).  We picked the most delicious strawberries I have ever eaten as well as early blueberries. In the next few weeks raspberries will be ready and we will be going back for more! 


This place is gorgeous & probably my new favorite get away spot for a few hours. Take a look for yourself! 


The Loot! 

Wednesday, June 20, 2012

Tuesday, June 19, 2012

Shop Update!

Even though things have been busy (happily busy) around my parts I have a few new pieces that I hope to add to the shop in the very near future. I recently just completed a huge wedding order, wrapped up a craft fair here in Portland and now I am preparing for Urban Craft Uprising in Seattle, which I am super excited to be apart of! 


Here's a little peek of what to expect from, also there is a little shop makeover going on! It was in some dire need of love & attention.


Friday, June 15, 2012

Hi, Hello!

My name is Mal I am a twenty something lady married to the greatest soul. We are newly Portland transplants who just recently found the perfect space to call home. We are settling in just nice & adapting to our new life just well. Please follow along as I share our adventures & treasures while doing our best to keep Portland weird.